Are you ready to add a touch of magic to your dessert table? These Magical Snow Globe Cupcakes are festive treats that wow guests and delight taste buds. I’ll guide you step-by-step to create these fun cupcakes, complete with fluffy frosting and charming decorations. With simple ingredients and easy techniques, you’ll impress everyone—even yourself! Let’s dive in and make some sweet holiday magic together!
Why I Love This Recipe
- Festive Appeal: These cupcakes bring a whimsical touch to any holiday gathering, making them a perfect centerpiece for festive celebrations.
- Simple Ingredients: With basic pantry staples, this recipe is easy to whip up, allowing bakers of all levels to enjoy the process.
- Customizable Decor: The snow globe effect allows for endless creativity with decorations, letting you personalize each cupcake to your liking.
- Tasty Treat: Fluffy and moist, these cupcakes are not only visually appealing but also delicious, making them a hit with both kids and adults.
Ingredients
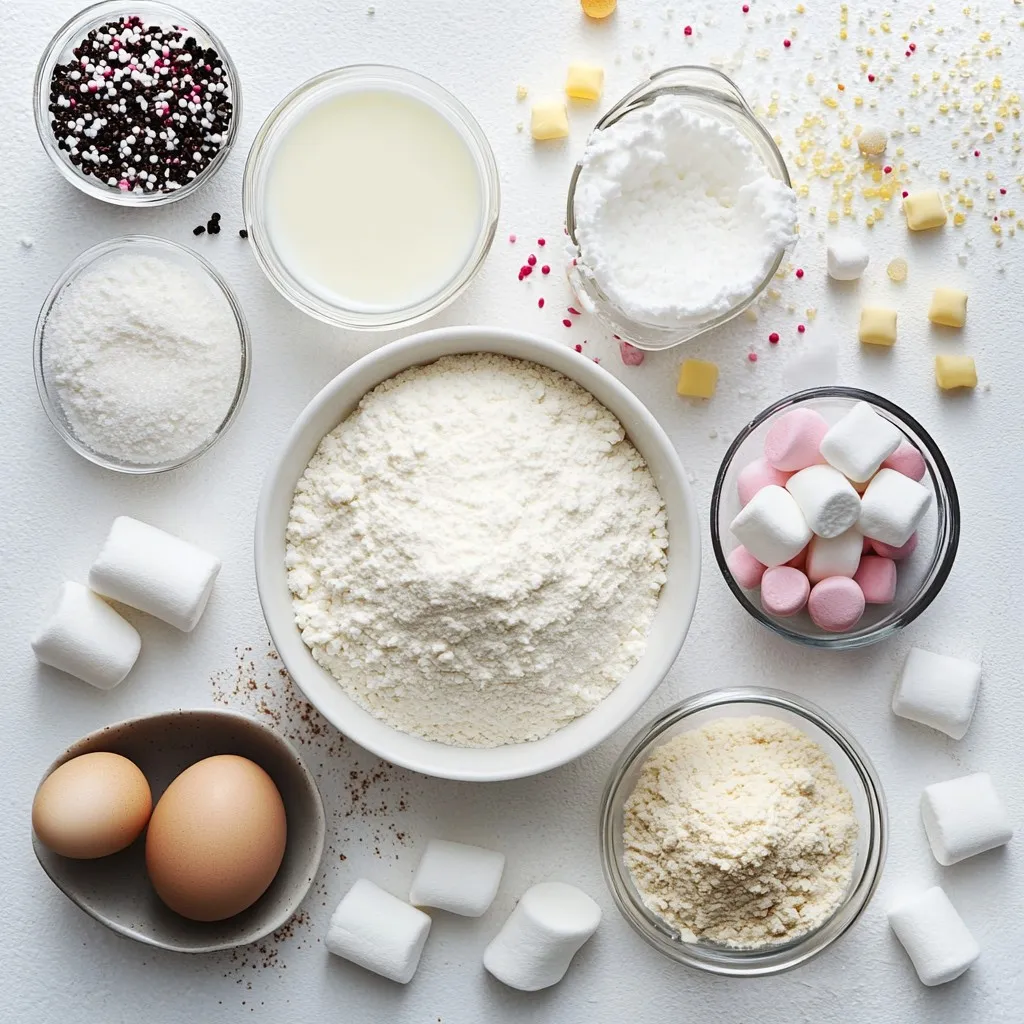
List of Ingredients for Snow Globe Cupcakes
– 1 ½ cups all-purpose flour
– 1 cup granulated sugar
– 1 ½ teaspoons baking powder
– ½ teaspoon salt
– ½ cup unsalted butter, softened
– 2 large eggs
– 1 teaspoon vanilla extract
– ½ cup whole milk
– 1 cup powdered sugar (for frosting)
– 2 tablespoons milk (for frosting)
– ½ teaspoon vanilla extract (for frosting)
– Edible glitter or sprinkles (for ‘snow’)
– Mini marshmallows or small candy figurines (for the inside of the globe)
– Clear plastic cupcake domes (optional)
Measuring Tips for Accurate Ingredients
Measuring ingredients accurately is key for great cupcakes. Here are some tips:
– Flour: Scoop the flour with a spoon into a measuring cup. Then level it with a knife.
– Sugar: Use the same method as flour. Ensure it is not packed in the cup.
– Butter: If using sticks, each stick is usually ½ cup. Cut along the markings.
– Liquid Ingredients: Use clear measuring cups. Fill to the correct line and check at eye level.
Alternatives for Common Ingredients
Sometimes you may not have all the ingredients. Here are some swaps:
– All-purpose flour: You can use cake flour for a lighter cupcake.
– Granulated sugar: Brown sugar works too, giving a richer flavor.
– Butter: You can use coconut oil for a dairy-free option.
– Milk: Almond milk or oat milk can replace whole milk in the recipe.
– Frosting: For a lighter frosting, try whipped cream instead of buttercream.
Step-by-Step Instructions
Prepping the Oven and Cupcake Pan
Start by preheating your oven to 350°F (175°C). This step is key to getting the right bake. Next, grab a cupcake pan and line it with cupcake liners. This helps with easy removal after baking.
Mixing Dry and Wet Ingredients
In a large bowl, mix the dry ingredients. Combine 1 ½ cups of all-purpose flour, 1 cup of granulated sugar, 1 ½ teaspoons of baking powder, and ½ teaspoon of salt. Whisk these together until they blend well. In a separate bowl, whisk 2 large eggs, 1 teaspoon of vanilla extract, and ½ cup of whole milk. Add the softened butter to the dry mix and blend until crumbly. Gradually add the wet mix to the dry. Mix until just combined. Avoid overmixing, as this can make your cupcakes tough.
Baking and Cooling the Cupcakes
Now, it’s time to fill the cupcake liners. Pour the batter into each liner, filling them about two-thirds full. Place the pan in the oven and bake for 18-20 minutes. Check for doneness with a toothpick; it should come out clean. After baking, cool the cupcakes in the pan for 5 minutes. Then, transfer them to a wire rack to cool completely. This step ensures they are ready for frosting.
Tips & Tricks
Achieving the Perfect Cupcake Texture
To make soft, fluffy cupcakes, start with room temperature ingredients. This includes butter, eggs, and milk. When these ingredients mix well, they create air pockets, which help the cupcakes rise. Mix the dry ingredients first. Whisk flour, sugar, baking powder, and salt together. This step helps distribute the leavening evenly.
When adding wet ingredients, don’t overmix. Stir until just combined; lumps are okay. This keeps your cupcakes light and airy. Fill cupcake liners about two-thirds full. This gives them room to rise without overflowing.
Frosting Techniques for a Smooth Finish
For a lovely frosting, use a good piping bag with a star tip. This adds a nice design to your cupcakes. Start by frosting the center and move outward in circles. This technique gives an even look.
Make sure your frosting is creamy. If it’s too thick, add a bit more milk. If too thin, add more powdered sugar. You want it to hold its shape. Chill the frosted cupcakes briefly if you want a firmer finish. This can help when adding decorations.
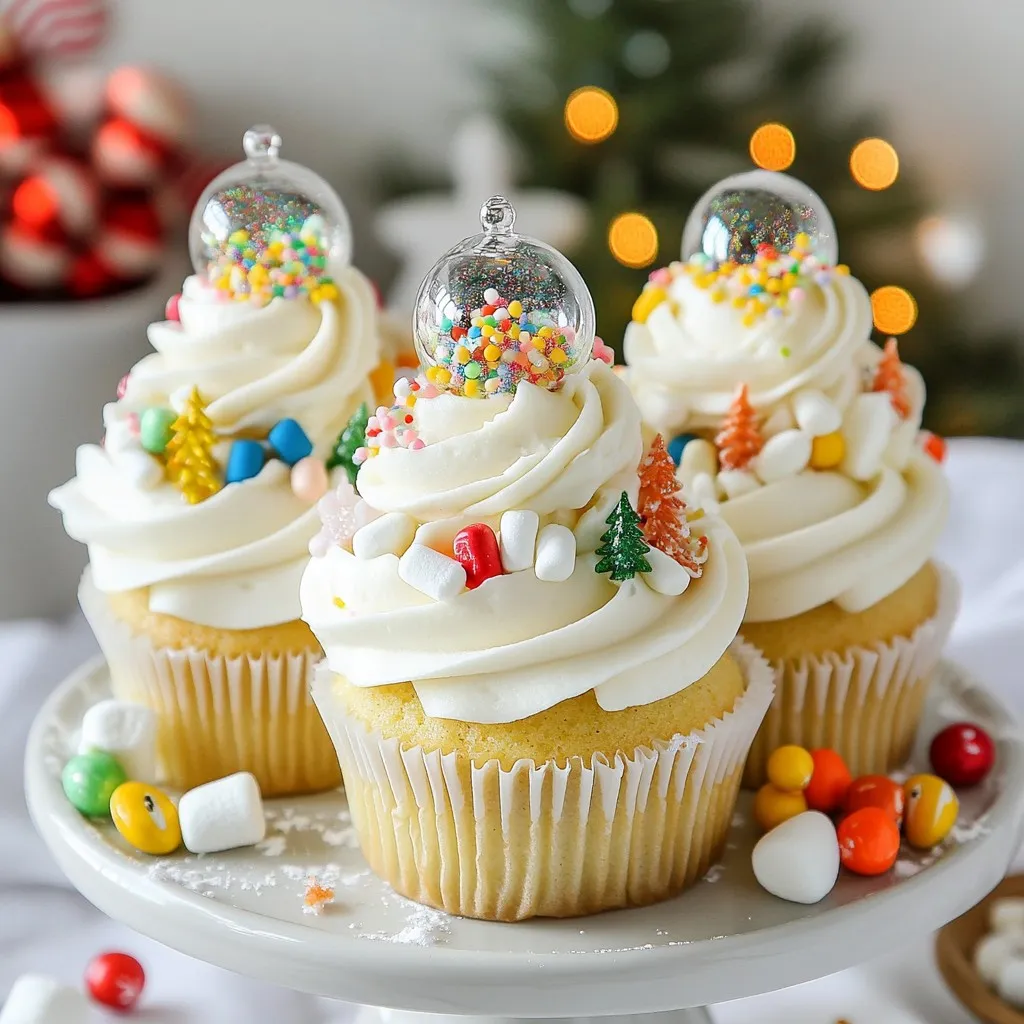
Decorative Ideas for the Snow Globe Effect
To create the snow globe look, use edible glitter or sprinkles. These mimic snow and add sparkle. After frosting, sprinkle the glitter generously on top.
For the fun inside, place mini marshmallows or small candy figurines. They create a cute scene. If you want more magic, use clear plastic cupcake domes. They make your cupcakes look like real snow globes.
Consider using artificial snowflakes around the cupcakes for extra charm. This small touch enhances the festive feeling.
Pro Tips
- Use Room Temperature Ingredients: Ensure that your butter, eggs, and milk are at room temperature before mixing. This helps create a smoother batter and more evenly baked cupcakes.
- Don’t Overmix the Batter: When combining wet and dry ingredients, mix until just combined. Overmixing can lead to dense, tough cupcakes.
- Experiment with Flavors: Feel free to add different extracts or flavorings, such as almond or peppermint, to the batter or frosting for a unique twist on the classic vanilla flavor.
- Decorate with Seasonal Touches: Customize your snow globe cupcakes by using festive decorations that match the holiday season, such as small candy canes or holiday-themed sprinkles.
Variations
Flavor Variations
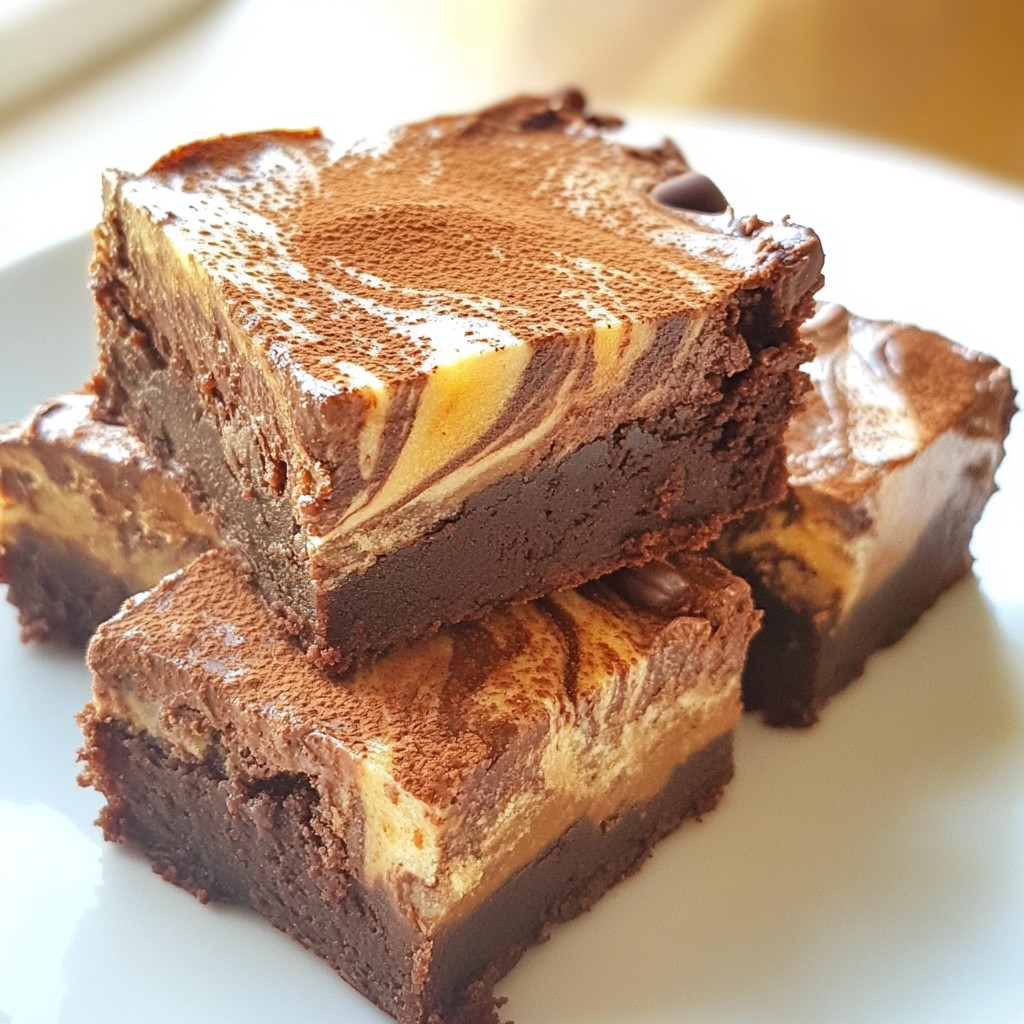
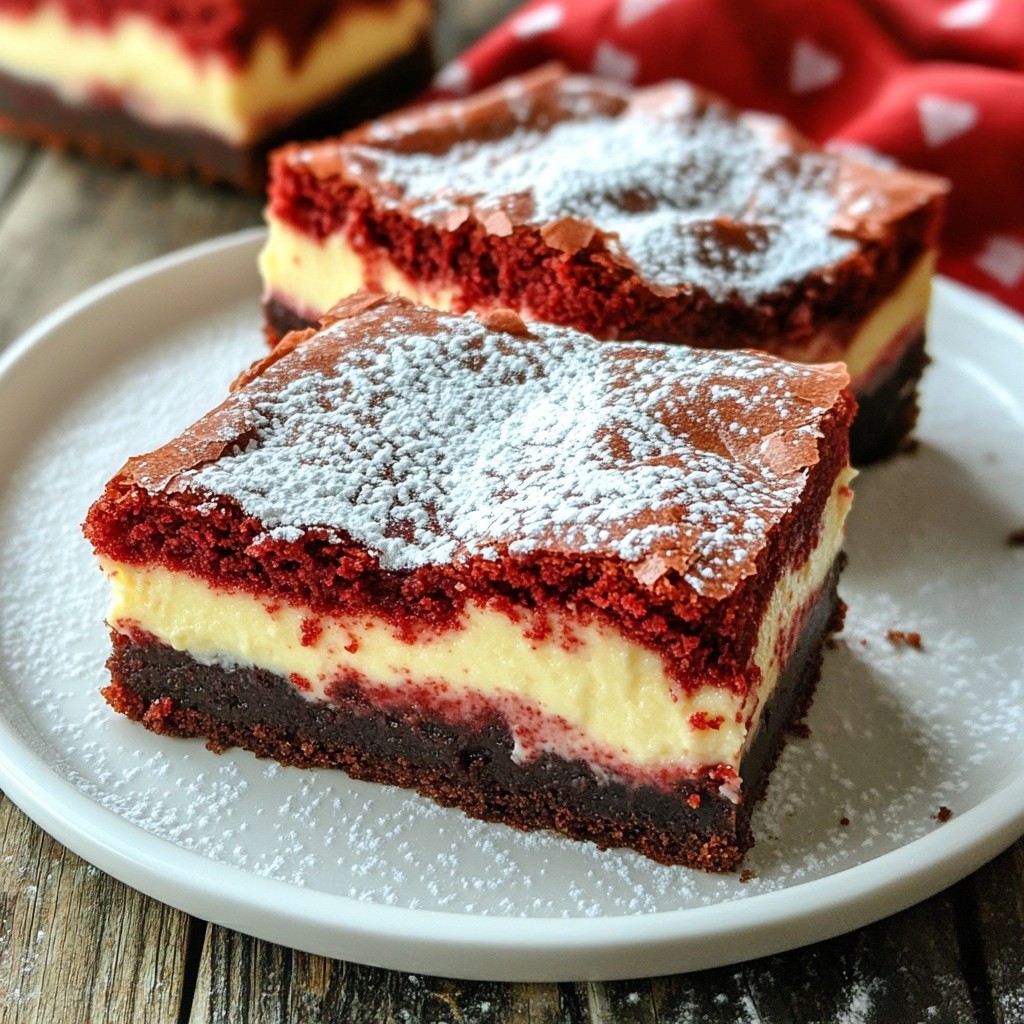
You can switch up the flavor of your snow globe cupcakes to keep things exciting. For a chocolate version, use 1 cup of cocoa powder and reduce the flour to ½ cup. This change makes a rich chocolate treat that pairs well with vanilla frosting. If you prefer red velvet, simply add 2 tablespoons of red food coloring to the batter. This makes a festive cupcake perfect for holidays.
Alternative Toppings and Decorations
While edible glitter and mini marshmallows are fun, you can get creative with toppings. Try using crushed peppermint candies for a wintery crunch. You can also use white chocolate shavings to mimic snow. For a more colorful scene, use gummy bears or small toy figures to create a mini winter wonderland.
Seasonal Themes and Customization Ideas
Customize your snow globe cupcakes for different seasons or events. For Halloween, use orange frosting and add candy corn on top. In the spring, you can use pastel colors and sprinkle edible flowers. For birthdays, match the frosting with the theme and add colorful sprinkles. Making these small changes helps you create a unique treat for any occasion.
Storage Info
Best Practices for Storing Cupcakes
To keep your Snow Globe Cupcakes fresh, store them in an airtight container. This helps keep them moist. Place a piece of wax paper between layers if stacking. Avoid direct sunlight and heat, as these can dry them out.
How to Freeze Snow Globe Cupcakes
You can freeze these cupcakes for up to three months. First, let the cupcakes cool completely. Wrap each one in plastic wrap and then place them in a freezer-safe bag. When ready to eat, thaw them in the fridge overnight. Frost them just before serving for best results.
Signs of Freshness and Shelf Life
Fresh cupcakes smell sweet and have a soft texture. Check for any signs of mold or dryness. Generally, they stay fresh for about three days at room temperature. If you store them in the fridge, they last about a week.
FAQs
Can I make these cupcakes ahead of time?
Yes, you can make these cupcakes a day in advance. Just bake and cool them first. Then store them in an airtight container at room temperature. Wait to frost them until you are ready to serve. This keeps the frosting fresh and the cupcakes moist.
What can I use instead of plastic domes?
If you don’t have plastic domes, try using a glass bowl. Place the bowl over the cupcake after frosting. You can also use clear plastic wrap to cover the cupcakes. Just make sure it won’t touch the frosting.
How do I make a vegan version of Snow Globe Cupcakes?
To make vegan Snow Globe Cupcakes, swap the eggs for a flaxseed meal. Use one tablespoon of flaxseed meal mixed with three tablespoons of water for each egg. Replace the butter with a plant-based stick and the milk with almond or soy milk. The rest of the recipe stays the same.
Snow globe cupcakes are fun and tasty. We explored the right ingredients, measured them, and shared helpful alternatives. The step-by-step guide made baking easy. I shared tips for the best texture and frosting techniques. Flavor and decoration ideas inspire creativity for any season. Finally, proper storage keeps your treats fresh. Enjoy making these delightful treats and impress everyone around you. Your baking journey starts here, and the joy of cupcakes await