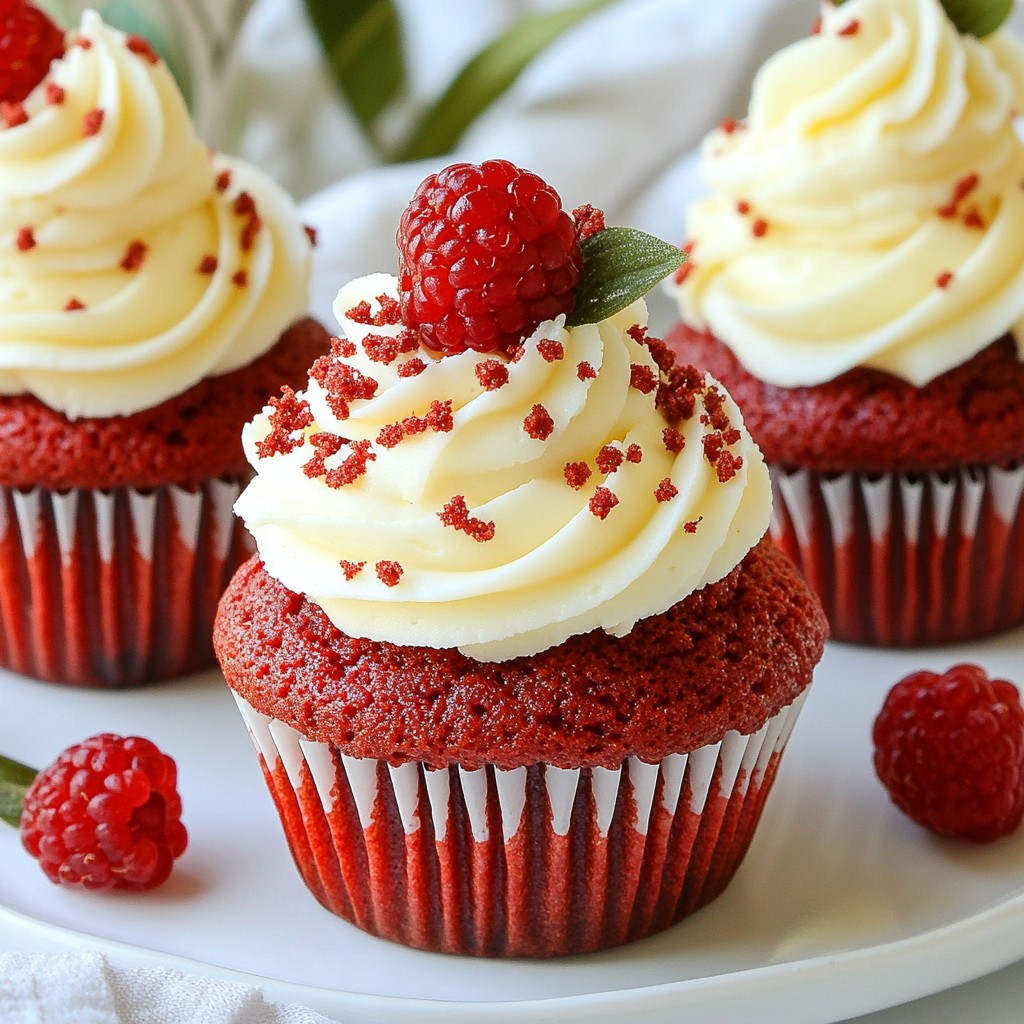
Are you ready to indulge in a classic dessert that never goes out of style? These Classic Red Velvet Cupcakes are rich, delicious, and perfect for any occasion. I’ll guide you through simple steps, from gathering your ingredients to achieving that perfect frosting. Get ready to impress your friends and family with these tasty treats. Let’s dive into the world of red velvet goodness!
Why I Love This Recipe
- Decadent Flavors: This cupcake offers a rich, velvety taste that’s truly indulgent and satisfying.
- Vibrant Color: The striking red hue makes these cupcakes visually stunning, perfect for any celebration.
- Easy to Make: With simple ingredients and straightforward steps, these cupcakes are perfect for bakers of all levels.
- Perfect for Any Occasion: Whether it's a birthday, holiday, or just a treat for yourself, these cupcakes fit any event beautifully.
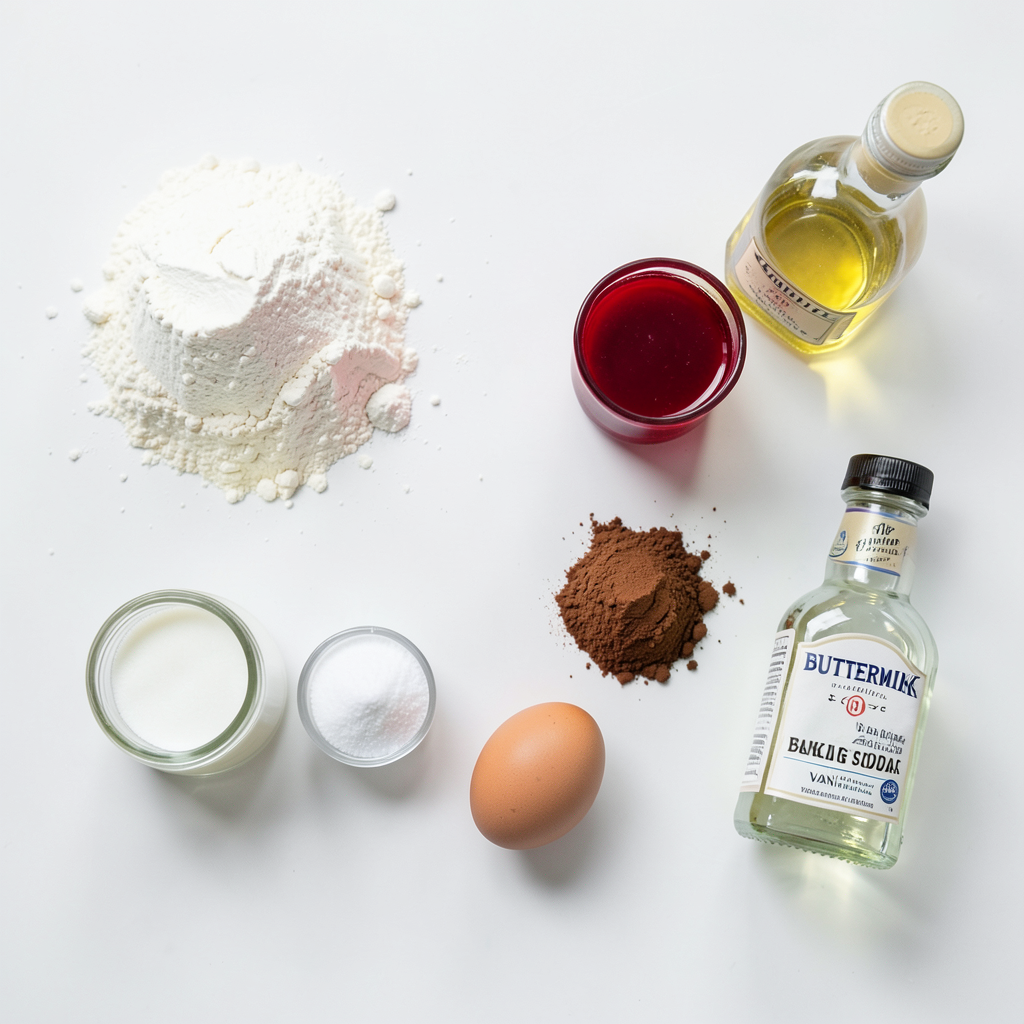
Ingredients
List of Essential Ingredients
To make classic red velvet cupcakes, you need these key ingredients:
- 1 ½ cups all-purpose flour
- 1 cup granulated sugar
- 1 teaspoon baking soda
- 1 teaspoon cocoa powder
- 1 teaspoon salt
- 1 cup vegetable oil
- 1 cup buttermilk, room temperature
- 2 large eggs, room temperature
- 2 tablespoons red food coloring
- 1 teaspoon vanilla extract
- 1 teaspoon distilled white vinegar
These ingredients work together to create that rich red color and soft texture.
Recommended Tools and Equipment
For making these cupcakes, gather the following tools:
- Cupcake pan
- Paper liners
- Mixing bowls
- Whisk
- Sifter
- Measuring cups and spoons
- Toothpick
These tools help ensure a smooth baking process.
Ingredient Substitutions
If you need alternatives, consider these substitutions:
- Use whole wheat flour for a healthier option.
- Swap buttermilk with milk plus a splash of vinegar.
- Use canola oil instead of vegetable oil.
- Replace eggs with unsweetened applesauce for a vegan version.
These swaps can still give you lovely red velvet cupcakes without losing flavor.
Step-by-Step Instructions
Preheating the Oven
First, set your oven to 350°F (175°C). This warm temperature helps the cupcakes rise well. While the oven heats, line your cupcake pan with paper liners. This step keeps your cupcakes from sticking and makes cleanup easy.
Preparing the Dry Ingredients
In a medium bowl, sift together the dry ingredients. You will need:
- 1 ½ cups all-purpose flour
- 1 cup granulated sugar
- 1 teaspoon baking soda
- 1 teaspoon cocoa powder
- 1 teaspoon salt
Mix these until they blend well. Sifting helps remove lumps and ensures a light batter. Set this bowl aside while you work on the wet ingredients.
Mixing the Wet Ingredients
In a large bowl, whisk together the wet ingredients. You will use:
- 1 cup vegetable oil
- 1 cup buttermilk, at room temperature
- 2 large eggs, also at room temperature
- 2 tablespoons red food coloring
- 1 teaspoon vanilla extract
- 1 teaspoon distilled white vinegar
Whisk until everything is nicely mixed. The red food coloring gives the cupcakes their famous color. The vinegar helps react with the baking soda, making them fluffy.
Combining and Baking the Batter
Now, gently combine the dry and wet ingredients. Gradually add the dry mix to the wet mix. Stir just until you see no dry flour. Over-mixing can make your cupcakes tough. Fill each cupcake liner about 2/3 full with the batter. This amount allows room for rising.
Bake in the oven for about 18-20 minutes. Check for doneness by inserting a toothpick. If it comes out clean, your cupcakes are ready!
Cooling and Frosting
Let the cupcakes cool in the pan for 5 minutes. Then, transfer them to a wire rack. Allow them to cool completely. Once cool, frost with cream cheese frosting. For a fancy touch, sprinkle some red velvet cake crumbs on top. You can add a fresh berry or a chocolate piece for extra charm. Enjoy your rich and delicious red velvet cupcakes!
Tips & Tricks
Achieving a Moist Texture
For a moist cupcake, use buttermilk. It adds creaminess and flavor. Make sure your eggs are at room temperature. They mix better and help with texture. Adding vegetable oil helps too. Oil keeps the cupcakes soft and tender. Don't skip the vinegar; it reacts with baking soda. This creates a light and airy cupcake.
Perfecting the Cupcake Rise
Fill each liner about two-thirds full. This allows room for rising without spilling. Avoid over-mixing the batter. Stir until just combined; lumps are okay. Over-mixing makes cupcakes dense and heavy. Baking at 350°F (175°C) is key. This temperature gives a nice rise without burning.
Common Mistakes to Avoid
One common mistake is using cold ingredients. Always bring eggs and buttermilk to room temp. Another mistake is not checking the oven temperature. An oven thermometer can help. Lastly, don’t rush the cooling process. Let the cupcakes cool completely before frosting. This prevents the frosting from melting.
Pro Tips
- Use Room Temperature Ingredients: Ensure your buttermilk and eggs are at room temperature before mixing. This helps create a smoother batter and results in light, fluffy cupcakes.
- Don’t Overmix: When combining wet and dry ingredients, mix just until incorporated. Overmixing can lead to dense cupcakes, so be gentle!
- Check for Doneness: Use a toothpick to test the cupcakes for doneness. If it comes out clean or with a few crumbs, they’re ready to come out of the oven.
- Cool Completely Before Frosting: Allow the cupcakes to cool completely on a wire rack before frosting. This prevents the frosting from melting and helps maintain its shape.
Variations
Alternative Frosting Options
You can change things up with the frosting. While cream cheese frosting is a classic, try buttercream or whipped cream. For a fun twist, mix in some chocolate or peanut butter to your frosting. You can also use a tangy lemon glaze for a bright flavor contrast. Make it your own!
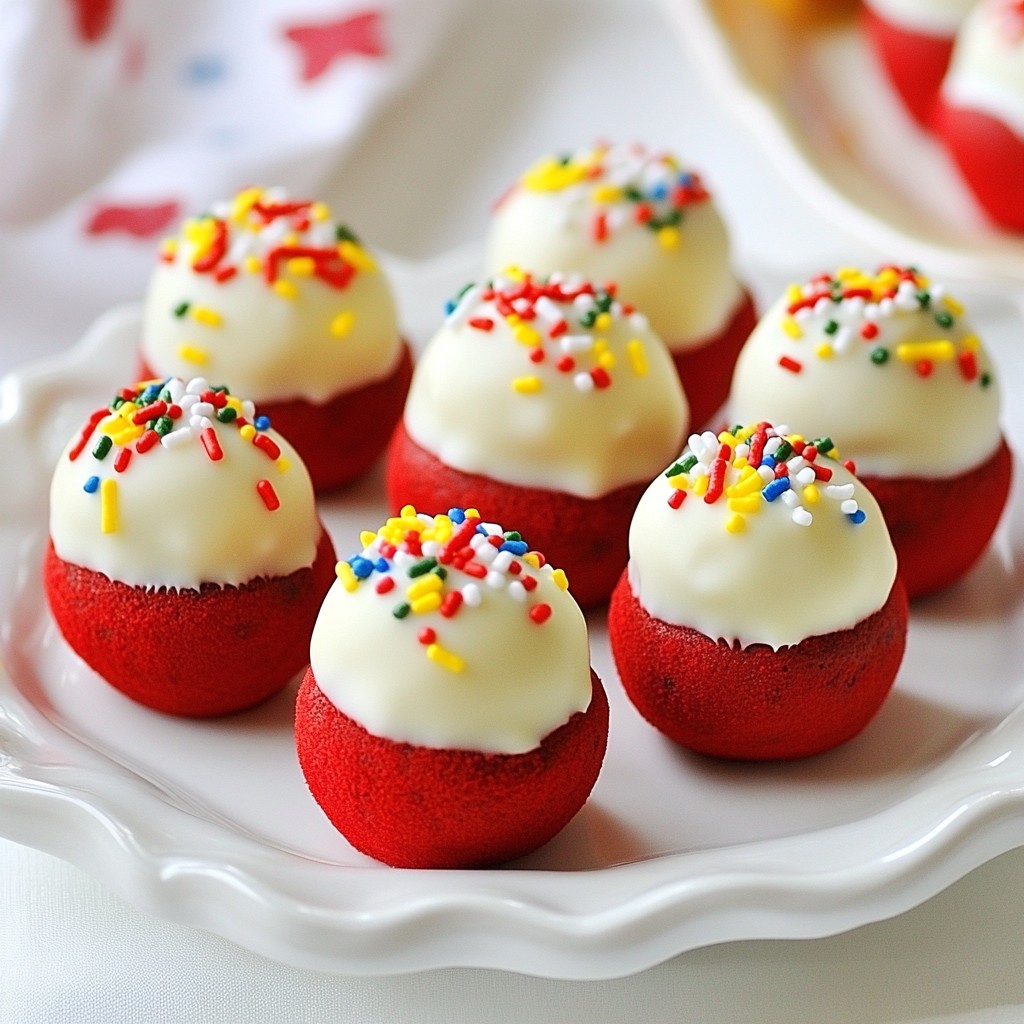
Red Velvet Mini Cakes
If you want a different shape, make mini cakes instead. Use the same batter, but pour it into small cake pans. Bake for about 15–18 minutes. Stack them with frosting in between for a cute dessert. They make great treats for parties or special occasions.
Gluten-Free Red Velvet Cupcakes
You can still enjoy red velvet cupcakes if you need them gluten-free. Swap the all-purpose flour for a gluten-free blend. Make sure your blend includes xanthan gum to help with texture. The other ingredients stay the same, so you won't lose that rich, delicious flavor.
Storage Info
Best Ways to Store Cupcakes
To keep your red velvet cupcakes fresh, store them in an airtight container. This helps prevent them from drying out. Place the container at room temperature for up to three days. If your kitchen is warm, you may want to refrigerate them. Just remember to bring them back to room temperature before serving.
Freezing Instructions
If you want to save cupcakes for later, freezing works well. First, let the cupcakes cool completely. Then, wrap each cupcake in plastic wrap. Place them in a freezer bag to protect against freezer burn. You can freeze them for up to three months. When you’re ready to eat, thaw them in the fridge overnight.
How to Revive Stale Cupcakes
If your cupcakes become stale, don’t worry! You can bring them back to life. Preheat your oven to 350°F (175°C). Place the stale cupcakes in the oven for about five minutes. This heat will soften them and restore some moisture. Enjoy them warm with your favorite frosting!
FAQs
What is the history of red velvet cupcakes?
Red velvet cake has roots in the early 1900s. It became popular in the Southern United States. The cake is known for its rich color and smooth texture. It often features cocoa powder, buttermilk, and vinegar. The red hue comes mainly from food coloring. Some say it symbolizes love and passion. This delightful dessert evolved into cupcakes in the 1920s. They gained fame through bakeries and special occasions.
Can I make these cupcakes ahead of time?
Yes, you can prepare the batter in advance. Store it in the fridge for up to 24 hours. Just bring it back to room temperature before baking. You can also bake the cupcakes ahead of time. Once cooled, keep them in an airtight container. They stay fresh for about three days. For longer storage, freeze them for up to three months.
How do I know when the cupcakes are done baking?
Check the cupcakes around 18 minutes of baking. Insert a toothpick into the center. If it comes out clean, they are ready. Avoid opening the oven too soon. This can cause the cupcakes to sink. If they need more time, bake for another minute or two. Keep an eye on them to prevent overbaking.
What frosting pairs best with red velvet cupcakes?
Cream cheese frosting is the classic choice for red velvet cupcakes. Its tangy flavor balances the sweetness perfectly. You can also try buttercream for a sweeter twist. A chocolate ganache adds a rich layer of flavor. For a fun twist, use whipped cream for a lighter touch. Each option enhances the cupcakes in different ways.
In this guide, we explored everything about red velvet cupcakes. We covered essential ingredients, tools, and helpful substitutions. You learned step-by-step instructions for baking and frosting. Tips shared will help you avoid common mistakes and achieve great texture. We also looked into fun variations and storage tips for fresh treats. Remember, baking is an adventure. With practice, you'll make red velvet cupcakes that wow everyone! Enjoy your baking journey!